Sunday, September 26, 2010

Rowan Magazine 46, Bust darts tutorial, Knitting for a child with a cast

Last night my allergies were so bad that I couldn't sleep, even after an overdose with Claritin, I had a horrible night. I got up and started... what else? browsing the internet for knitting patterns.

I decided that I don't want to spend time on Facebook since there is got to be a thousand more productive things to do in life than listening to people's thoughts and complaints. As a result, my head had been spinning with ideas all night and all day today. It is as if I had unlocked a world of creativity and imagination in my head. I even thought of 2 projects to design.

Rowan Magazine
Among other things, I discover the new Rowan magazine# 46, and felt in love with yet, two more patterns for my to do list:


As I was browsing E -bay to see how much the Rowan yarns cost these days, I came across an ebay seller that literally cut off the best pattern of the magazine (the first picture) and was selling it for 1 pound (about a $1,70).

Original magazine pattern, carefully removed, in perfect condition - unused

Now, what would posses somebody to do something like this is beyond me... but one thing is certain, a beautiful $23,95 (plus shipping) Rowan Magazine is now ruined in the futile pursue of $1,78... (plus shipping). Go figure!

Bust Dart Tutorial
I also discovered, thanks to a fellow knitter on Ravelry, the most amazing tutorial on how to add bust darts. I always knew that bust darts were created with short rows, but didn't know exactly how to do it. Well here it is in perfect English! Now, I wasn't looking for this but this link will come in handy for sure!

Knitting for a boy with a cast
My 2 year old will be having hand surgery in January and I want to be prepared. Is is going to be cold and he will have to wear a cast for a few months. We already had the experience last year and I had to cut off one sleeve of all his shirts and I purchased a really cheap hoodie and cut one sleeve as well. This time I want to have a winter wardrobe that can accommodate his cast. I can't think of a better excuse to get to work and KNIT him some items, made to fit. After looking to all of my books and patterns and browsing Ravelry for quite a few hours... I decided on the following projects.

1- Totem Jacket by Elizabeth Zimmerman. This is the perfect Jacket because you knit the body in one piece up to where you want to harm holes and add the sleeves at the end. It is a very simple pattern that allows for plenty of customization. Just what I need to be able to make wider harm holes and sleeves to make space for the cast.


2- This poncho from Drops Designs also fits the bill and can provide the perfect outdoors layer leaving the harms free underneath.


3- A wonderful waistcoat by Debbie Bliss can keep him warm inside or outside the house. And I was thinking maybe I can knit detachable sleeves to it. The pattern is in Classic Knits for Kids; 30 Traditional Aran and Guernsey Designs for 0-6 year olds (1995). This is a really old book and it is out of print but I really want to make it. It still can be ordered from Amazon.com. My scanner broke so I can not provide a picture but is sooo cute!

4- And finally I still may make a lighter weight indoor sweater, which I am debating between EZ's Baby surprise Jacket which has very wide harm holes and this hooded jacket by Debbie Bliss. If I make the last one I will have to modify the harm holes and sleeves to be wider.

All of these patterns (except for the waistcoat), have three things in common; they are very simple, easy to modify and fast to knit. Well I better hurry! I found all the yarn I needed for these projects in my stash. Hurray!!

Thursday, September 16, 2010

Is it possible to fix white spots on a bad dyeing job?

After my yarn was dry there were some white spots in one of the colors, the lilac. I have no idea why this color didn't take, but it was bothering me so I decided to try yet another experiment; fixing one color.
Me di cuenta de que habian quedado unas partes blancas en el color lila.


So off it went the hank of yarn to the sink: Asi que lo heche denuevo en el lavatorio para darle un baño.


And to the counter for retouching with a brush. I had dye left so I used the same bottle of the dye that was already prepared. The color was not covering the white spots, so added some more vinegar, thinking maybe I had forgotten the vinegar... Nothing... So I looked at the solution and it seemed too watery to me so I added more of the dye powder to it... Voila! the dye took this time and covered all the white areas. El tinte no pegaba, me di cuenta de que no tenia suficiente polvo asi que le puse mas y ya funciono...


After that I wrapped the repainted area... Luego la envolvi en plastico.


And finally placed only the repainted part on the steaming pot, leaving the rest of the hank out of the pot. I am not sure this was wise because the dry part of the hank can catch fire on the gas stove if you are not careful. I think next time I will get the whole thing wet and re-steam the whole thing.

The results were perfect and the colors are now even for the most part. The green is not even but at least there are no white spots and I actually like the different shades of green and yellow on it.
Y finalmente puse la parte retocada denuevo en la olla de vapor dejando por fuera la parte seca. La proxima vez creo que la pongo toda dentro de la oya para evitar que prenda fuego con la llama de la estufa.


Before: (antes)


After: (despues)

Tuesday, August 31, 2010

Yarn dying experiment Day #4

I found this great tutorial to dye yarn with food dye which of course is A LOT cheaper! and I love it. I think this will be my Yarn Dying Experiment #2.

http://kathrynivy.com/patterns/extras/dyeing-yarn/

Today I finally was able to put these two babies in a bath. Once is the long skein I rewind to make self striping yarn. The other one is the skein I was able to unfold correctly, just the way it comes from Knitpicks.
Skein #1 Long strand for Self Striping yarn
Squeeze bottles with dye


My helper and the final result.


Skein #2 Shorter strand as it comes from Knitpicks.

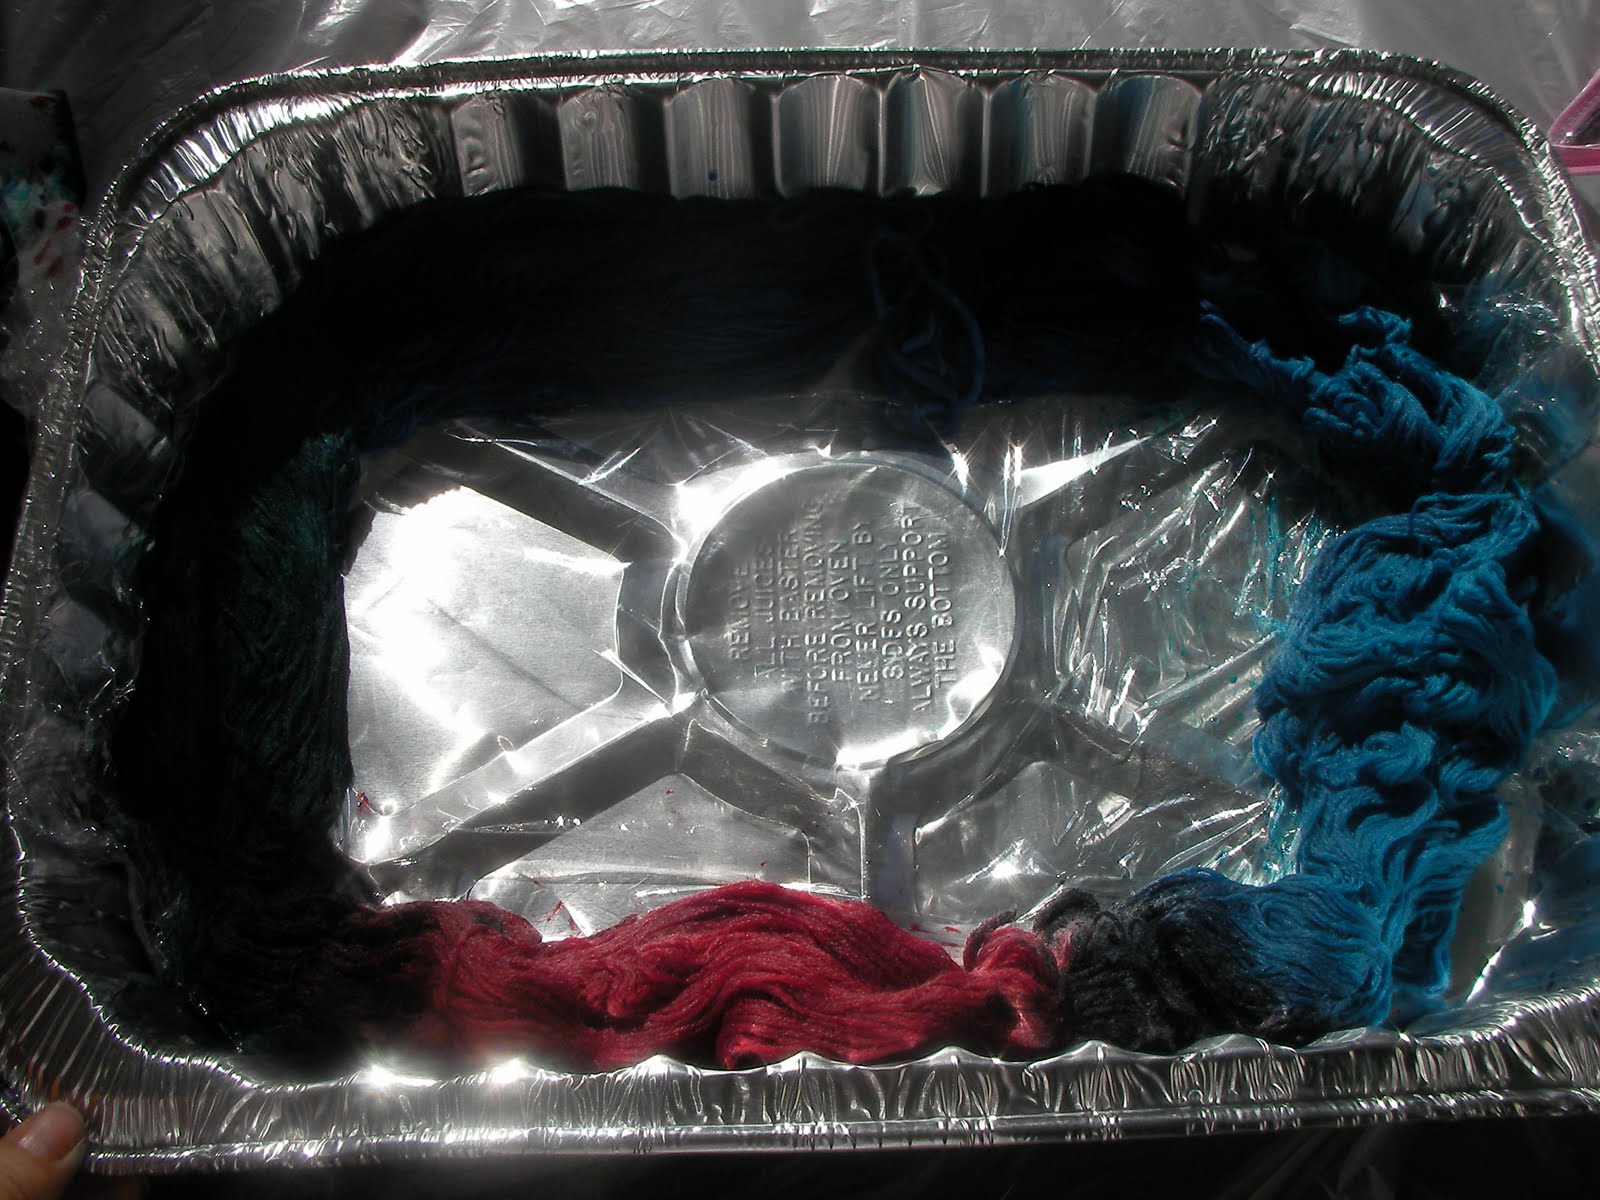
I put it in a foil baking dish and painted it there. I used different colors. This is probably going to come out varigated rather than stripy or with very thin stripes.
I used different colors for the second one. This one has saffyre blue, teal, fire red and tourquoise. I put it in a foil baking dish and painted it there. This is probably going to come out varigated rather than stripy or with very thin stripes because the length of each color is shorter.

The red and the green together created a back stripe but that is OK.


Here are both skeins in the sink cooling off:

Here it is the steaming pot I got from Good Will.I am not sure these were a set, but they fit together perfectly and I even found a lid for it. All for about $5.


I learned a lot from this experience. I learned I need bigger squeeze bottles. I got the kind you use to travel to put shampoo in it. You actually need the bigger kind they use to put Mustard in, otherwise you have to refill them and add vinegar each time. I also need a funnel ( I used paper ice cones) and better globes. The ones I had were so uncomfortable that I ended up not using them at all. I need latex gloves.

Also, it's better to do this without the kids. Rachel helped me at first but on my last skein, Ian distracted me and I forgot to add vinegar... I am not sure how is that going to affect the dying. (after the boiling, this skein bled like crazy and the colors ran into each other probably because of the lack of vinegar but also because of the excess dye because I did not use the squeeze bottles, I just pour the dye from the jar because I was tired... I did gave this a bath in luckewarm water with vinegar after the boiling... Not sure if that helped for the dye to stay, but after that I wash it until the water was clear and it looks OK.)

Another very important thing I learned is to lift the skein after you paint it to check for white spots underneath. I have a big white spot in the first skein :-( but I love the way it came out, I love the colors.

Drying outside:

Yarn Dying Experiment Day #3 (Monday)


Finally finished wrapping the yarn around two chairs to get the length I wanted... Maybe tomorrow I can start having some fun...

And I looked very careful to another hank and this time I was able to figure out how to open it. The hank is folded in half, so you have to unfold it up and then sideways. Huff, finally! I knew I was doing something wrong... It seems so obvious now, I can't believe I went through so much trouble with the other two!!
Yarn Dying Experiment Day #2 (Sunday)

I kept working on detangleling and winding the ball of yarn all day.... the dye is outside calling my name really load!!! I am so tired of doing this...

Time to get out of the house and take the kids to see the ducks at the park or I will kill myself!

Monday, August 30, 2010

Dye experiment -Day 1- (Saturday)

Last Saturday my husband took the kids out and I thought it would be the perfect opportunity to dye some yarn for the first time. The materials have been in my closet for 3 years... waiting patiently for a day like this...

STEP #1 Gather the materials

- Plastic painting blanket to cover the table ($1 at the dollar Store)
- Dust mask ($1 for a dozen at the dollar store)
- Squeeze bottles ($5 at Ride Aid)
- Glass Jars (got at Albertson's so long ago I don't remember the price)
- Measuring teaspoon's ($1 at the dollar store)
- Blank Hank of wool sock yarn (Knitpicks 3 years ago...)
- Jaquard Dyes (Knitpicks 3 years ago)
- White Vinegar ($1 at Fresh and Easy)
- Plastic Wrap ($1 at the Dollar Store)
- Steaming Pot ($5 at Goodwill)
- Globes (that I had at home)

STEP #2

Watch the tutorial video for dying sock blanks again:
http://www.knitpicks.com/tutorials/Sock_Blank_Dyeing__D108.html

The problem is, I don't have a sock blank, I have blank "Bare" skein. But it should work the same, right? right??...

STEP #3

Give the skein an hour bath to absorb water


STEP # 4

The most scary step... mix the dye...


Mix 1/2 teaspoon of dye with one cup of water in each jar. I have hot pink, charchuse, Lilac and Teal.

Each time I switch color I wiped the measuring teaspoon with baby wipes. I discover something, the wippie will reveal to you the final color of the dye... Cool!


STEP #5

Get the yarn out of the water and pad it dry in a towel...

OK, this is where I found a major obstacle in what was supposed to be a fun afternoon dyeing yarn... The wet hank got tangled so bad, it was impossible to open it up or to figure out what was the beginning or the end. It was such a mess, and I got so frustrated that I pulled hard on the ends and made it even worse. Now, there is no use. I don't think I can salvage it. I went upstairs to my room and I grabbed another Knitpicks Bare Hank, this time I open it up BEFORE WASHING IT, very slowly and carefully. This is what I found: There are 2 ties in different sections. I could not figure out how to open those up in neat way for hand dying, but at least I could wind it in a ball. I think I could have just dye it like that if I wanted a varigated effect, but since I wanted stripes, I needed to open up the skein and make a ring with long strands of yarn. Besides after dying I would have to wind it anyways, so might as well do it now. So I began to wind my second skein of yarn:


3 Hours Later:


Time to take a brake... and go to bed very frustrated and tired!

Saturday, July 10, 2010

Lacy Shrug and Hat


This is a little shrug and Hat that I made for a friend's new baby girl. I love the way both things turned out. If you want details about the pattern and yarn used you can go to my Ravelry page.

Este es un suetercito corto y un gorrito que hice para una bebé recien nacida de un amigo de nosotros. Me encanta como me quedaron las dos cosas. Los detalles del patrón y la lana que use se encuentran en mi página de Ravelry.com.

WWKD and Left Hand knitting


During the Word Wide Knit in Public Day I got among other things; a video explaining how to knit with both hands. I had always been curious about this, so I guess it is time, my destiny is to learn now. The video said to make something entirely with your left hand to get a good gauge knitting with it, then, start trying the both hand technique, holding one color in one hand and the other in the other hand. So, I am in my quest for an easy pattern, to train my left hand... This should be fun...

Pictures are from the WWKP Day and the prizes I got from the raffle that were pretty darn good!! Thank you guys!!

Fotos del Día Mundial de Tejer en Público y los premios que me gane en la rifa.

Sunday, May 16, 2010

What is the best excuse to buy a bottle of wine???


You have to make a wine cozy for a gift... then obviously you will need a bottle of wine to block the wine cozy right???

I will be making this as well for another present. I found the pattern in Ravelry.

Cual es la mejor excusa para comprar una botella de vino??? Se necesita una botella para poder medir un cobertor de vino que quiero hacer para otro regalito. Por supuesto! tuve que comprar una botella de vino! El patron lo encontre en Ravelry.

My current project


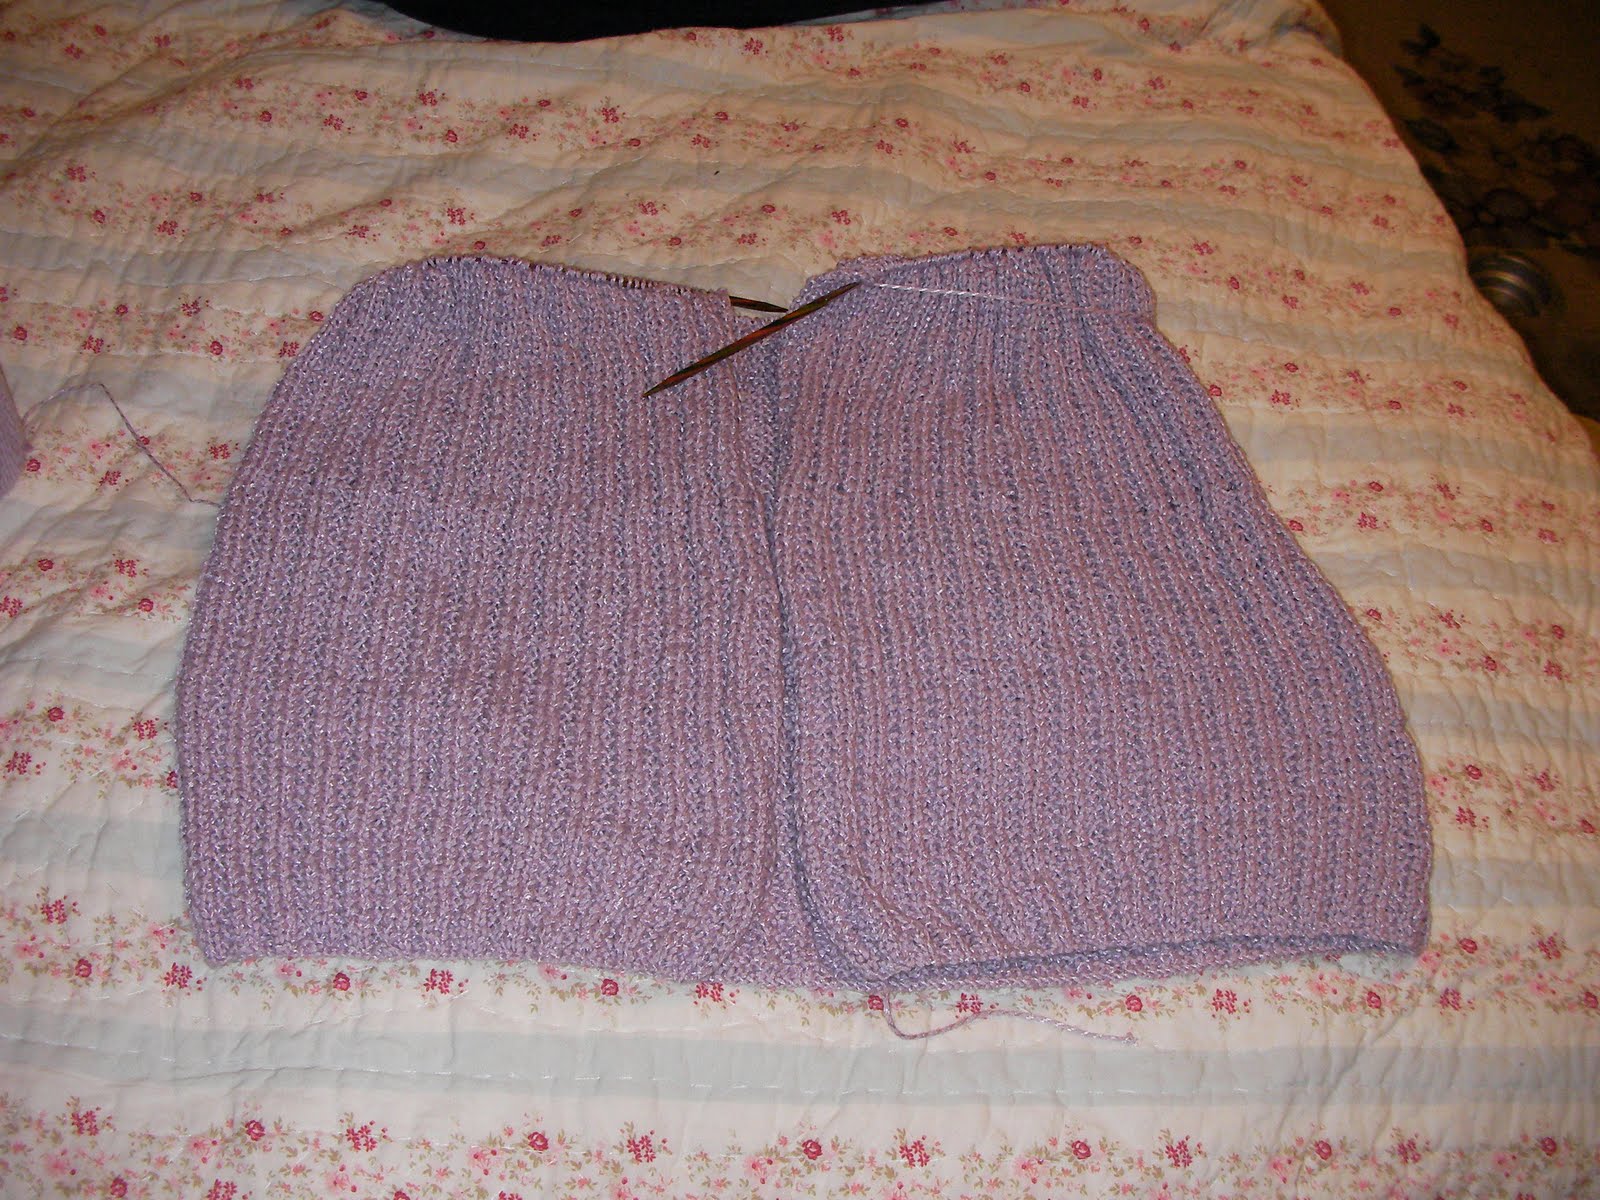
This is my current project. I am making this sweater for my mom's 70th birthday. I have only a couple of weeks to finish it before my sister leaves to Costa Rica so she can take it with her.

I am almost done with the sweater's body... and tomorrow I will cast on the first sleeve. The pattern is from an old "Creative Knitting" Magazine from 2005. The yarn is already discontinued so I was able to get on Ebay for almost nothing... same color and everything... a lucky find.
Este es el proyecto en el que estoy trabajando ahorita. Es un sueter para mi mama, por su cumpleanos numero 70. Tengo que terminarlo en dos semanas para que mi hermana se lo lleve a Costa Rica y se lo entregue. Eso me deja solo un par de semanas para terminar las mangas y los acabados... Estoy apretada de tiempo, pero creo que si podre hacerlo. El hilo es exactamente el que se pide en el patron que como es de una revista vieja lo consegui en Ebay a un excelente precio.

Monday, February 08, 2010

Spiritual battles and difficult decisions.

Ephesians 6:12 (King James Version)
12For we wrestle not against flesh and blood, but against principalities, against powers, against the rulers of the darkness of this world, against spiritual wickedness in high places.


I have been struggling for months about this question: How involved should a born again Christian be involved with an unbeliever or a Christian that is separated from God? How much sin around us can we and should we take? How much should we shelter ourselves and our children from all the evil influences of the world... including friends, culture, media, etc... Where do you draw the line???

I disagree with people that (in the name of Jesus) of course, get deeply involved with people who are living wicked lives. They say the want to win them for Jesus. I am sorry but that is hard to believe. Most of the time it works the other way around. When Christians get very "tolerant" and "accepting" of sin, they soon loose their biblical perspective of sin and start embracing the cultural mandate of political correctness.

I have gotten to the conclusion that there is no black and white answers, but each situation needs to be analyzed carefully and under the light of the word and through prayer. For example, if I find out that a very close friend is living in sin, I may try to talk to talk to her and encourage her to go back to the Bible principles, etc. But if the person chooses consistently to live separated from God, then I need to "draw the line", because I need to protect my own relationship with God and my own children from this person's influence.

Influence for us Christians is a lot more than what a person does and says. Spiritual influence which is the most critical, is worked in the spiritual realm. The part we don't see or hear. Ephesians 6:12

Lately I feel the Lord is calling me to build a wall to keep me and my family from the enemy. This wall is built with prayer, worship and spiritual warfare. But how often we make the mistake of not protecting ourselves from the wolves dressed as sheep. Lord, open my spiritual eyes and let me see! Let me identify those things around us, (and those people around us), that represent a negative influence to us. -The enemy in disguise.-

I want to be salt to this world, but I don't want the world to swallow me alive!

Every situation is different, and I am learning to pray over all of my relationships, and be careful and wise.

Behold, I send you forth as sheep in the midst of wolves: be ye therefore wise as serpents, and harmless as doves. Mathew 10:16

Some very though decisions need to be made if we are to live the way God wants us to live and I never thought it would be this hard. To love and embrace the people that God wants me to bless and share with, is not the biggest challenge, but to separate myself from people that I like and even love when their beliefs and their life style jeopardizes my own relationship with God, is by far the hardest part. And what about my kids? God trusted them to me, to rise them in his ways. I am responsible to protect them from the world influences and to teach them a godly way of living. So, how serious would I be taking on this responsibility if I didn't shelter my children?

Today I am praying for wisdom, and I trust God will grant it to me as he promises in his word. Amen.

Friday, January 15, 2010

Sewing and Knitting...


This is the result of my experimenting with wool sweaters... I decided to make longies with the sleeves and try to create a vest out of the neck-center of the sweater. These are two sets that I made from the Good will sweaters. They came out O.K. I am not happy with the finishing of the sleeve edge on the vests... They came out a little awkward and to be honest I have no idea how to fix them... but the sets are warm and they are accomplishing their mission of keeping baby warm this winter. I love them!


The Summer collection of Drops has been published! The patterns are all simply gorgeous!! I can't wait for the patterns to become available...

You can see them here.

I am still working on my leaf vest. This is an old SIRDAR pattern that I am modifying a little bit to make it look more modern. The gauge just didn't make sense to me so I am not so sure how will it come out but I am almost done with the experiment...


Arriba fotos de los dos juegos que le hice a bebe con los sweaters de lana que compre en Good Will. Con las mangas hice pantalones que tambien sirven de cubierta de panal y con el centro del sweater hice un chalequito para hacer el juego. No me gusto como me quedaron las orillas de las mangas de los chalecos, como que se paran muy raro, pero la verdad no supe como arreglarlo. Lo importante es que cumplen su cometido de mantener a bebe calientito y ademas me encantan!
La foto de abajo es de un chaleco que estoy tejiendo y ya casi lo termino.


Thursday, November 26, 2009

Family Events


Dedication of Baby at the Church


What a blessing it was to present baby in the Church. Pastor M presented the family to the Church and told our story. The whole congregation extended their arms to pray for baby and his upcoming surgery. It was very special.
La dedicación de bebé en la iglesia estuvo muy linda. El Pastor nos presentó a la congregación y todos oraron por nosotros y por la cirugía de bebé.


My Birthday
Mi cumpleaños

Thanksgiving relaxation...

We decided not to do anything today. Baby was still sick and R too... Friends invited us over for dinner but we decided to just rest. It has been an incredibly relaxing day... Hubby took care of the baby most of the day. I slept like a bear and watched English movies and knit. Now this is what I call "vacation". I am so thankful that my husband does not make me cook like a slave in a day like this. He is so kicked back and we feel the same way about holidays like this in the sense that we don't feel we have to follow the crowd. We are both revels! We like to do things our way and just whatever we feel like despite the rest of the world. I love that!

Since my last post something amazing happened. New neighbors moved in the house next door... I was worried about homeschooling R because she didn't have any friends... and just like that, like an answer from God came little A. Our new friend and neighbor. I have never seen two kids that get along so well and have so much in common like R and A do. It amazes me!! Only God could have orchestrated this! Her parents are the nicest people and she is such a good girl. I am in awe!


Here they are in their sleep-over last Friday. They played hide and go seek in the dark, computer games, board games, you name it! They had a blast all day long and in the evening.

They even go together to Awanas on Sundays.

Isn't God amazing? Just in my last post I was expressing how concerned I was and that maybe I would have to stop homeschooling... and now, wow! What an answer! What an amazing way God has to show me that He knows my needs and that He has the power to fulfill them beyond all my expectations! We serve a powerful God!

Esta es A la nueva vecinita y amiguita de R. No puedo creer como Dios contestó a mis oraciones en una manera tan perfecta y eficaz. Nunca he visto dos chiquitas que se llevan tan pero tan bien. Qué grande que es el Dios que servimos, que conoce nuestras necesidades y las suple más allá de nuestras expectativas!!